
Hey there, fellow gearheads! Today, we’re diving into the nitty-gritty of jacking up your car safely for those DIY home repairs. Trust me, I’ve been there – staring at my ride, wrench in hand, wondering if I’m about to turn my weekend project into a disaster. But fear not! I’m here to share some hard-earned wisdom on car lifting techniques that’ll keep you (and your precious wheels) safe and sound.
Did you know that improper jacking causes thousands of injuries each year? Yikes! That’s why it’s crucial to get this right. So, buckle up as we explore the ins and outs of vehicle jacking points, floor jack safety, and everything in between. Let’s make sure your next DIY adventure doesn’t end with a trip to the ER!
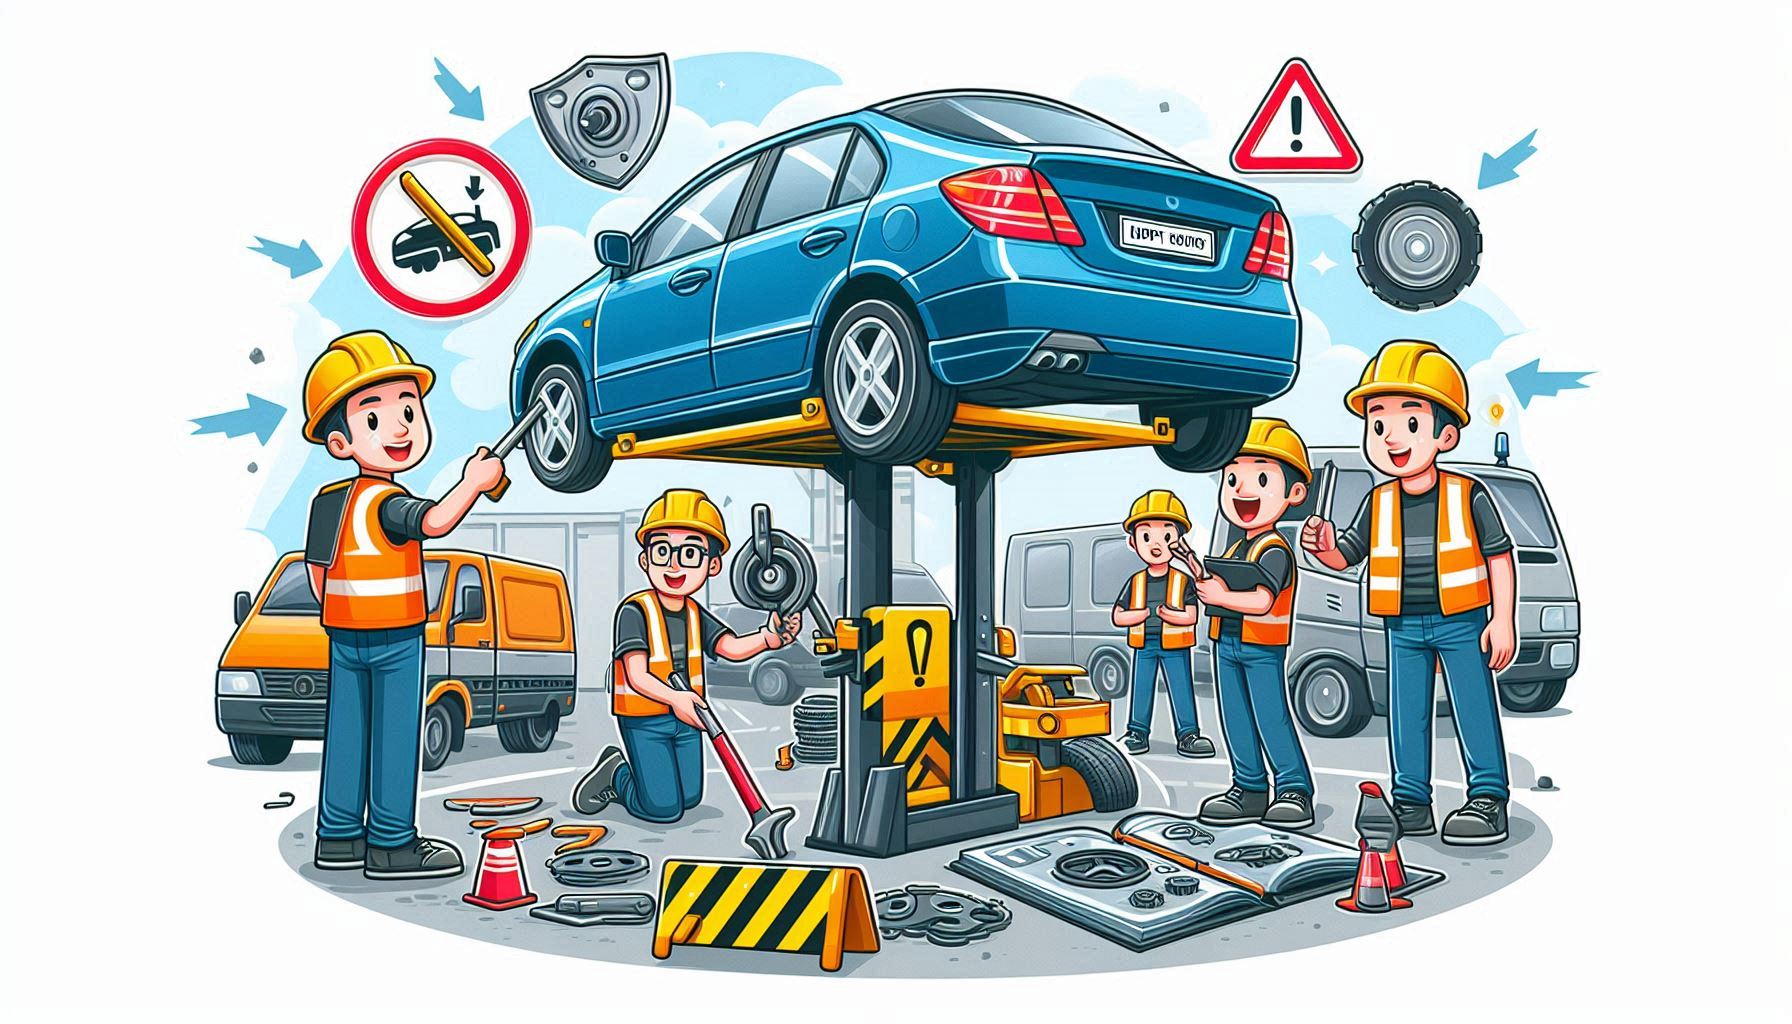
TL;DR: Jacking Up Your Car Safely
- Always use the correct jacking points – check your car’s manual
- Use a floor jack for stability, and always pair it with jack stands
- Work on a level, stable surface – avoid gravel or inclines
- Engage the parking brake and use wheel chocks
- Never exceed the weight capacity of your jack or stands
- Regularly inspect and maintain your jacking equipment
- If something feels off, stop and seek professional help
- Safety first – no repair is worth risking your life!
| The Basics: Know Your Jack
Alright, let’s start with the basics. There are a few types of jacks you might encounter:
- Floor jacks: These are my personal faves. They’re sturdy, reliable, and perfect for garage jack usage.
- Scissor jacks: You’ll find these in most car trunks. They’re okay for emergencies but not ideal for lengthy repair work.
- Bottle jacks: Great for trucks and higher vehicles.
- Hi-lift jacks: These bad boys are for off-road enthusiasts and require some serious know-how.
I remember the first time I used a floor jack – it was like discovering sliced bread! The smooth lifting action and stability made me wonder why I’d been wrestling with that dinky scissor jack for so long.
| Finding the Sweet Spot: Vehicle Jacking Points
Now, here’s where things get critical. You can’t just shove that jack anywhere under your car and hope for the best. That’s a one-way ticket to Damageville, population: your car’s undercarriage.
Vehicle jacking points are specific areas designed to support the weight of your car. They’re usually reinforced and can handle the pressure without buckling. Here’s how to find ’em:
- Check your vehicle owner’s manual. It’s like the holy grail of car info.
- Look for pinch weld jacking points along the side of your car. They’re those little notches that seem perfect for a jack – because they are!
- Frame rail support is another option, especially for trucks and SUVs.
Pro tip: If you’re having trouble locating these points, grab a flashlight and take a good look underneath. It’s like a treasure hunt, but instead of gold, you’re looking for sturdy metal bits!
| Prep Work: Setting the Stage for Safety
Before you even think about lifting that car, you gotta set the stage. Here’s my pre-jack checklist:
- Find a stable jacking surface. Your driveway’s probably fine, but avoid soft ground or steep inclines.
- Engage that emergency brake! Seriously, do it.
- Put the transmission in neutral (or park for automatics).
- Remove the ignition key. You don’t want any surprises!
- Wheel chocks are your new best friends. Place them on the wheels staying on the ground.
I once skipped the wheel chocks and… let’s just say I learned my lesson the hard way. Don’t be like past me – chock those wheels!

| The Main Event: Jacking Up Your Ride
Alright, it’s showtime! Here’s how to get that car up in the air without breaking a sweat (or your car):
- Position your jack at the correct jacking point.
- Slowly pump the jack to raise the car. Keep an eye out for any wobbling or instability.
- Once the car’s high enough, slide your jack stands into place. Remember, jack stand placement is just as important as jack placement!
- Slowly lower the car onto the jack stands.
- Give the car a gentle shake. If it’s stable, you’re golden!
Remember, your floor jack isn’t meant for long-term support. That’s what jack stands are for. Always use them together for maximum safety.
| Jack Stand 101: Your Car’s Best Support System
Let’s talk about jack stand placement for a sec. These little heroes are what keep your car from crushing you while you’re underneath it. Here’s the lowdown:
- Always use jack stands in pairs.
- Place them on solid, reinforced points of the car’s frame or subframe.
- Make sure they’re on level ground and fully locked in place.
- Check the weight capacity of jacks and stands – they should exceed your car’s weight.
I once saw a guy using cinder blocks instead of jack stands. Don’t. Just don’t. Your life is worth more than the few bucks you’ll save.
| Hydraulic Jack Maintenance: Keep It Smooth
Your floor jack needs some TLC too! Regular hydraulic jack maintenance will keep it lifting smoothly for years to come. Here’s what I do:
- Keep it clean! Wipe it down after each use.
- Check for leaks. A leaking jack is a dangerous jack.
- Lubricate moving parts occasionally.
- Store it properly – no leaving it out in the rain!
I once neglected my jack for months, and when I needed it, it was rustier than my old Chevy. Learn from my mistakes, folks!
| When Things Go Sideways: Jack Failure Prevention
Nobody wants to think about jack failure, but it happens. Here’s how to prevent it:
- Regularly inspect your jacks and stands for wear and tear.
- Never exceed the weight limits.
- Use jack stands every single time – no exceptions!
- If something feels off, trust your gut and stop.
I’ve had a close call or two, and let me tell you, it’ll make your heart race faster than a NASCAR driver’s!

| Special Situations: Jacking on Different Surfaces
Not every jacking job happens in a perfectly level garage. Sometimes you gotta improvise:
- Jacking on asphalt surfaces: Use a piece of plywood under the jack to distribute weight.
- Concrete pad requirements: Make sure it’s level and crack-free.
- Jacking on gravel surfaces: Avoid if possible, but if you must, use sturdy plywood sheets.
I once had to change a tire on a gravel shoulder. It was like trying to balance on marbles!
| Advanced Techniques: For the Serious DIYer
If you’re tackling bigger projects, you might need some advanced techniques:
- Cross-beam jack usage for lifting both front wheels.
- Transmission jack operation for… well, transmission work.
- High-lift jack techniques for off-road vehicles.
Just remember, with great power comes great responsibility. Don’t try these unless you’re confident in your skills!
| Wrapping It Up: Safety First, Always
Alright, let’s bring it home. Here’s the TL;DR version:
- Know your car and your equipment.
- Always use jack stands.
- Prep your workspace and your car.
- When in doubt, don’t risk it – call a pro.
Remember, no repair is worth risking your safety. Take your time, double-check everything, and if something feels off, trust your instincts.
Now, I want to hear from you! What are your go-to jacking tips? Any close calls you want to share? Drop a comment below and let’s keep this conversation going. And hey, if you found this helpful, share it with your DIY buddies. Let’s keep everyone safe out there!
Stay safe, have fun, and happy wrenching!